Essential TPO Roof Inspection Checklist for Property Owners to Ensure Damage-Free Roofing Solutions
- May 23
- 4 min read
A TPO (Thermoplastic Olefin) roof offers excellent durability and energy efficiency for both commercial and residential properties. However, like any roofing system, it requires regular inspections to catch damage early and maintain its performance. Property owners who overlook routine checks risk costly repairs or premature roof replacement. This guide provides a detailed checklist to help you inspect your TPO roof effectively and explains when to contact A&O Roofing Solutions for professional TPO repairs or installations.

Understanding the Importance of Regular TPO Roof Inspections
TPO roofs are popular because they resist UV rays, chemical exposure, and heat, but they are not immune to damage. Weather conditions, foot traffic, and aging can cause cracks, punctures, or seam failures. Regular inspections help you:
Detect small issues before they escalate
Extend the roof’s lifespan
Maintain energy efficiency
Avoid leaks that damage interior structures
A thorough inspection is the first step in protecting your investment and ensuring your property remains safe and dry.
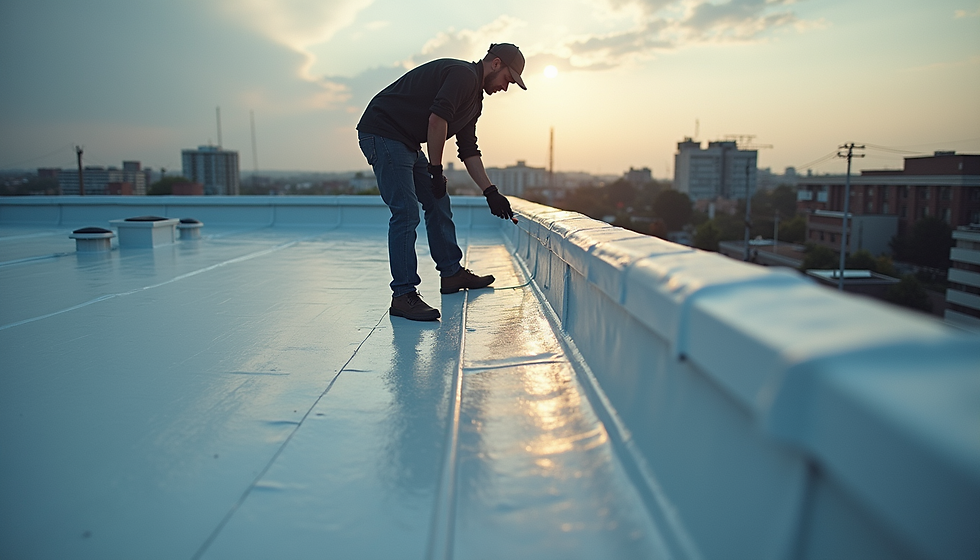
Visual Inspection of the Roof Surface
Start your inspection by examining the roof surface carefully. Look for:
Punctures or tears: Sharp objects, hail, or debris can puncture the membrane. Even small holes can lead to leaks.
Blisters or bubbles: These indicate trapped moisture or air under the membrane, which can cause the material to weaken.
Seam condition: Check that all seams are securely welded and free from gaps or separation.
Discoloration or chalking: Fading or chalky surfaces may signal UV damage or material degradation.
Debris accumulation: Leaves, branches, or dirt can trap moisture and cause deterioration.
Use binoculars for a high-level view if the roof is difficult to access safely. Document any visible damage with photos and notes.
Inspecting Roof Flashings and Edges
Flashing and edge details are common weak points on TPO roofs. Inspect these areas for:
Loose or damaged flashing: Flashings around vents, skylights, and HVAC units should be firmly attached and intact.
Cracks or splits: Look for cracks in the flashing material or where it meets the membrane.
Sealant condition: Sealants should be flexible and free from cracks or peeling.
Edge securement: Ensure the membrane is properly fastened at roof edges to prevent wind uplift.
Damaged flashings can allow water to seep under the membrane, leading to leaks and structural damage.
Checking Roof Drains and Gutters
Proper drainage is critical to prevent standing water, which can damage TPO roofs. Inspect:
Drain openings: Make sure drains are clear of debris and functioning correctly.
Gutter condition: Gutters should be free of blockages and securely attached.
Slope and ponding: Look for areas where water pools after rain, indicating poor drainage or low spots.
Standing water accelerates membrane wear and increases the risk of leaks.
Examining Roof Penetrations
Penetrations such as pipes, vents, and HVAC units are potential leak points. Check:
Membrane seals around penetrations: These should be tight and free from cracks.
Boots and collars: Inspect for splits, tears, or loose fittings.
Signs of water damage: Look for rust, stains, or mold near penetrations inside the building.
Proper sealing around penetrations is essential to maintain roof integrity.
Inspecting the Roof’s Interior for Signs of Damage
Damage to a TPO roof often shows up inside the building before it becomes obvious on the roof surface. Look for:
Water stains or discoloration on ceilings and walls
Mold or mildew growth
Sagging or soft spots in the ceiling
Musty odors
If you notice any of these signs, schedule a professional roof inspection immediately.
When to Contact A&O Roofing Solutions for TPO Repairs or Installation
If your inspection reveals any of the following, contact A&O Roofing Solutions:
Punctures or tears larger than a few inches
Separated or damaged seams
Extensive blistering or bubbling
Damaged or loose flashing
Persistent leaks or water damage inside the building
Roof nearing the end of its expected lifespan (typically 15-20 years)
A&O Roofing Solutions specializes in TPO roof repairs and installations. Their experienced team can assess damage, recommend solutions, and perform repairs that restore your roof’s performance. For new construction or roof replacement, they provide expert TPO installation services that meet industry standards.
Tips for Maintaining Your TPO Roof Between Inspections
To keep your TPO roof in good shape between professional inspections:
Remove debris regularly to prevent damage and ponding
Avoid walking on the roof unnecessarily; use walk pads if needed
Trim overhanging tree branches to reduce debris and potential punctures
Schedule professional inspections at least twice a year, ideally in spring and fall
Routine maintenance reduces the risk of costly repairs and extends the life of your roof.
Summary
Regular inspections are essential for keeping your TPO roof damage-free and functioning well. Use this checklist to identify common issues such as punctures, seam problems, flashing damage, and drainage concerns. Early detection allows you to address problems before they worsen. When you find damage or need expert help, contact A&O Roofing Solutions for reliable TPO roof repairs and installations. Protect your property investment by staying proactive with your roof care.


Comments